Clean • Professional
When you start learning CSS, one of the most important concepts to understand is CSS selectors. Selectors allow you to target specific HTML elements and apply styles to them. Without selectors, you wouldn’t be able to control which element gets styled and how it looks.
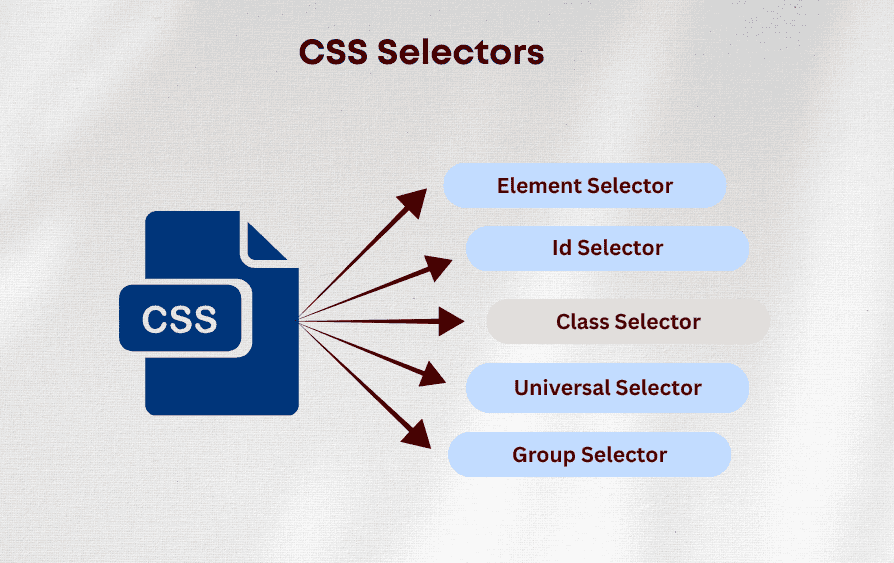
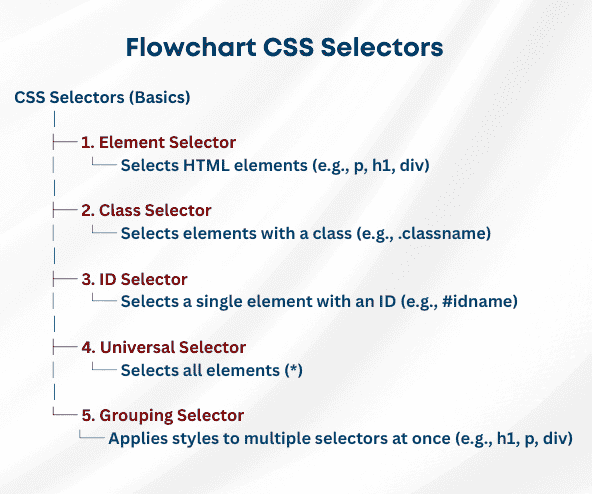
In this guide, we’ll cover the most commonly used CSS selectors: Element, Class, and ID selectors, along with the Universal Selector (*) and Grouping Selectors (,).

The element selector targets HTML tags directly, such as <p>, <h1>, or <div>. It applies styles to all instances of that element.
Example:
<p>This is a paragraph.</p>
<p>Another paragraph.</p>
p {
    color: blue;
    font-size: 16px;
}

Class selectors target elements with a specific class attribute. They are perfect for reusable styles across multiple elements. Denoted by a dot (.) followed by the class name.
Example:
<p class="highlight">Highlighted paragraph.</p>
<div class="highlight">Highlighted div.</div>
.highlight {
    background-color: yellow;
    padding: 10px;
}

ID selectors target a single unique element using its id attribute. IDs are used for main headings, sections, or unique elements. Denoted by a hash (#) followed by the ID name.
Example:
<h1 id="main-title">Main Heading</h1>
#main-title {
    color: navy;
    text-align: center;
}

The universal selector (*) applies styles to all elements on a page. It is commonly used to reset default browser styles
Example:
    <h1>Welcome</h1>
    <p>This is a paragraph.</p>
    <div>Some div content</div>
* {
    margin: 0;
    padding: 0;
    box-sizing: border-box;
    color: blue;
}

Grouping selectors allow you to apply the same style to multiple elements at once by separating them with commas.
Example:
<h1>Heading 1</h1>
<h2>Heading 2</h2>
<p class="intro">This is an introductory paragraph.</p>h1, h2, .intro {
color: green;
font-family: Arial, sans-serif;
}
