Clean • Professional
Lists are a key part of web design. They make content organized and easy to read—perfect for menus, features, or step-by-step guides. With CSS, you can style lists to match your website’s design and make them look modern and professional.
In HTML, lists group items together and improve readability, accessibility, and SEO.
<ul>) → Bullets (●, ○)<ol>) → Numbers or Roman numerals<dl>) → Terms with descriptionsBy default, lists look plain, but CSS lets you:
Here are the key CSS properties for lists:
list-style-typeDefines the style of bullets or numbering.
ul {
  list-style-type: square; /* circle | disc | none */
}

ol {
  list-style-type: upper-roman; /* decimal | lower-alpha | upper-alpha */
}
Example :
<!DOCTYPE html>
<html>
<head>
  <style>
    ul {
      list-style-type: square; /* circle | disc | none */
    }
    ol {
      list-style-type: upper-roman; /* decimal | lower-alpha | upper-alpha */
    }
  </style>
</head>
<body>

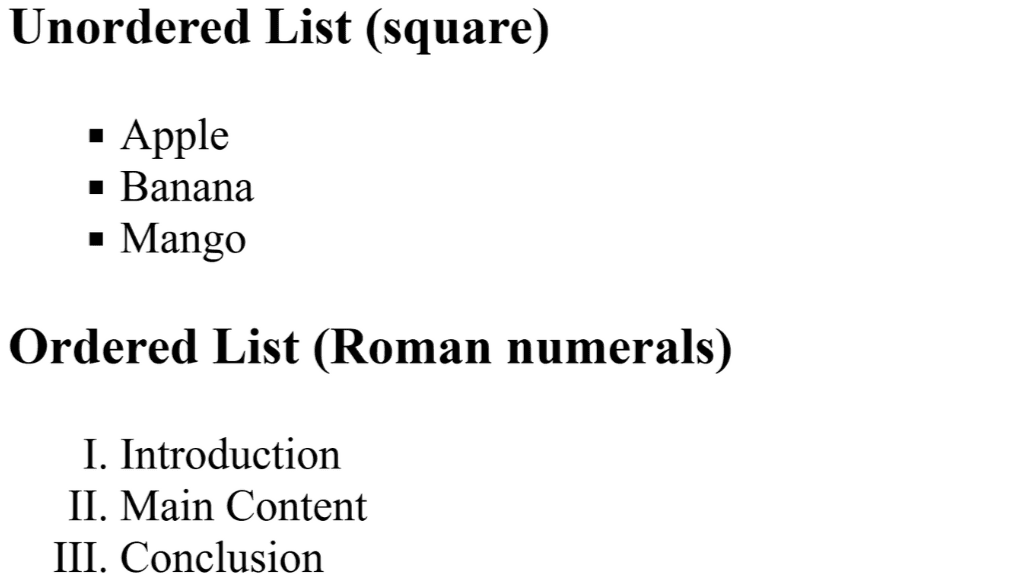
<h3>Unordered List (square)</h3>
<ul>
  <li>Apple</li>
  <li>Banana</li>
  <li>Mango</li>
</ul>

<h3>Ordered List (Roman numerals)</h3>
<ol>
  <li>Introduction</li>
  <li>Main Content</li>
  <li>Conclusion</li>
</ol>

</body>
</html>
Output :

list-style-imageReplaces bullets with custom images.
ul {
  list-style-image: url('checkmark.png');
}
Example :
<!DOCTYPE html>
<html>
<head>
  <meta charset="UTF-8">
  <meta name="viewport" content="width=device-width, initial-scale=1.0">
  <title>List Style Image Example</title>
  <style>
    ul {
      list-style-image: url('checkedmark.png'); /* Replace with your image path */
      list-style-position: inside;
    }
  </style>
</head>
<body>

<h3>Features with Checkmark Bullets</h3>
<ul>
  <li>High Quality</li>
  <li>Responsive</li>
  <li>SEO Friendly</li>
</ul>
</body>
</html>
Output :

list-style-positionControls whether bullets appear inside or outside the content box.
ul {
  list-style-position: inside; /* default: outside */
}
Example :
<!DOCTYPE html>
<html>
<head>
  <style>
    ul {
      list-style-type: disc;
      list-style-position: inside; /* default: outside */
      background: #f0f0f0;
      padding: 10px;
    }
  </style>
</head>
<body>

<h3>Bullets Inside the Content</h3>
<ul>
  <li>This bullet is inside</li>
  <li>Aligned with the text</li>
  <li>Looks neat and clean</li>
</ul>

</body>
</html>
Output :

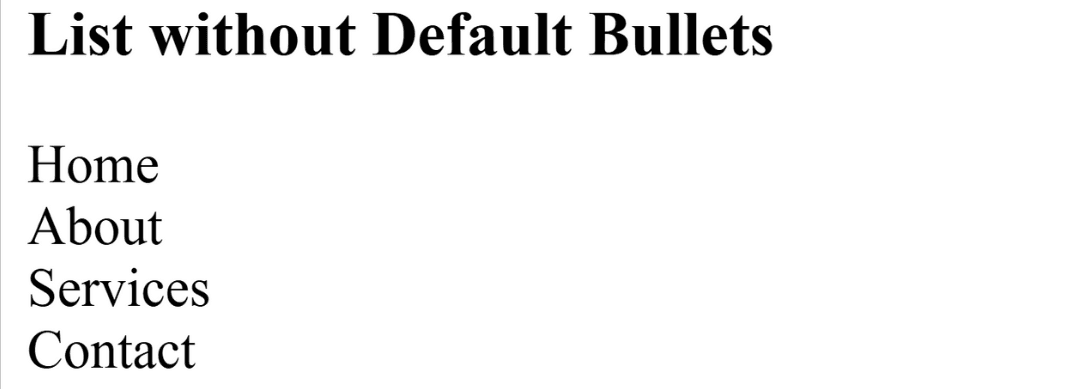
For navigation menus, you often remove default bullets.
ul {
  list-style-type: none;
  margin: 0;
  padding: 0;
}
Example :
<!DOCTYPE html>
<html>
<head>
  <meta charset="UTF-8">
  <meta name="viewport" content="width=device-width, initial-scale=1.0">
  <title>Remove Default List Styling</title>
  <style>
    ul.no-style {
      list-style: none; /* remove bullets */
      margin: 0;        /* remove default margin */
      padding: 0;       /* remove default padding */
    }
  </style>
</head>
<body>

<h3>List without Default Bullets</h3>
<ul class="no-style">
  <li>Home</li>
  <li>About</li>
  <li>Services</li>
  <li>Contact</li>
</ul>

</body>
</html>
Output :

You can replace normal bullets with symbols or icons. Here we used a green checkmark for a cleaner look.
ul.custom-bullets li::before {
  content: "✔️";
  margin-right: 8px;
  color: green;
}
Lists can be styled as menus. Using Flexbox makes items appear side by side, perfect for navigation bars.
ul.nav {
  list-style: none;
  display: flex;
  gap: 20px;
}
CSS counters let you auto-number list items. Great for tutorials or step-by-step guides.
ol.steps {
  counter-reset: step;
}
ol.steps li {
  counter-increment: step;
}
ol.steps li::before {
  content: "Step " counter(step) ": ";
  font-weight: bold;
}
Advanced CSS List Styling Examples
<!DOCTYPE html>
<html lang="en">
<head>
  <meta charset="UTF-8">
  <meta name="viewport" content="width=device-width, initial-scale=1.0">
  <title>Advanced CSS List Styling Examples</title>
  <style>
    /* 1. Custom Bullet Points */
    ul.custom-bullets {
      list-style: none; /* remove default bullets */
      padding-left: 0;
    }
    ul.custom-bullets li::before {
      content: "✔️";
      margin-right: 8px;
      color: green;
    }

    /* 2. Horizontal Navigation Menu */
    ul.nav {
      list-style: none; /* remove default bullets */
      display: flex;    /* horizontal layout */
      gap: 20px;        /* space between items */
      padding-left: 0;
    }
    ul.nav li {
      font-weight: bold;
      cursor: pointer;
    }

    /* 3. Numbered Steps with CSS Counters */
    ol.steps {
      counter-reset: step; /* initialize counter */
      padding-left: 0;
    }
    ol.steps li {
      counter-increment: step; /* increment counter */
      margin-bottom: 8px;
    }
    ol.steps li::before {
      content: "Step " counter(step) ": ";
      font-weight: bold;
      color: blue;
    }
  </style>
</head>
<body>

<h2>Advanced CSS List Styling Examples</h2>

<!-- Custom Bullets -->
<h3>1. Custom Bullet Points</h3>
<ul class="custom-bullets">
  <li>Fast Performance</li>
  <li>User Friendly</li>
  <li>Secure</li>
</ul>

<!-- Horizontal Navigation Menu -->
<h3>2. Horizontal Navigation Menu</h3>
<ul class="nav">
  <li>Home</li>
  <li>About</li>
  <li>Services</li>
  <li>Contact</li>
</ul>

<!-- Numbered Steps -->
<h3>3. Numbered Steps with CSS Counters</h3>
<ol class="steps">
  <li>Sign Up</li>
  <li>Verify Email</li>
  <li>Start Using</li>
</ol>

</body>
</html>
CSS Lists
   │
   ├─ Basic List Types
   │     ├─ Unordered List (<ul>) → bullets
   │     ├─ Ordered List (<ol>) → numbers
   │     └─ Description List (<dl>) → term-description
   │
   ├─ Basic CSS Styling
   │     ├─ list-style-type → disc, circle, square, decimal, roman
   │     ├─ list-style-image → custom image bullets
   │     └─ list-style-position → inside / outside
   │
   ├─ Removing Default Styles
   │     └─ list-style: none → for nav menus or custom bullets
   │
   └─ Advanced Styling
         ├─ Custom Bullets → ::before + content / icons
         ├─ Horizontal Lists → display: flex + gap
         └─ Numbered Steps → CSS counters