Clean • Professional
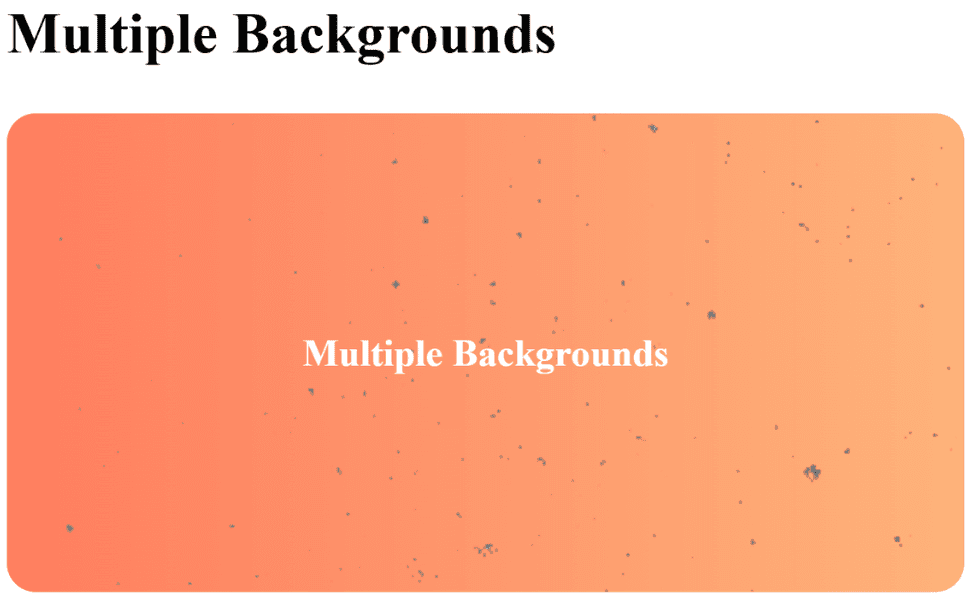
Normally, we apply one background (solid color, gradient, or image) to an element. But CSS lets you use multiple backgrounds by separating them with commas.
The first background listed will be on top, and each next one will be stacked behind it.
.multiple-bg {
  width: 400px;
  height: 200px;
  background:
    url("https://www.transparenttextures.com/patterns/stardust.png") repeat, /* top background */
    linear-gradient(to right, #ff7e5f, #feb47b),                             /* middle layer */
    #000;                                                                      /* bottom layer */
  color: #fff;
  display: flex;
  align-items: center;
  justify-content: center;
  border-radius: 12px;
  font-weight: bold;
  text-align: center;
}<!DOCTYPE html>
<html lang="en">
<head>
<meta charset="UTF-8">
<meta name="viewport" content="width=device-width, initial-scale=1.0">
<title>Multiple Backgrounds Example</title>
<style>
.multiple-bg {
width: 400px;
height: 200px;
background:
url("<https://www.transparenttextures.com/patterns/stardust.png>") repeat, /* top background */
linear-gradient(to right, #ff7e5f, #feb47b), /* middle layer */
#000; /* bottom layer */
color: #fff;
display: flex;
align-items: center;
justify-content: center;
border-radius: 12px;
font-weight: bold;
text-align: center;
}
</style>
</head>
<body>
<h2>Multiple Backgrounds</h2>
<div class="multiple-bg">Multiple Backgrounds</div>
</body>
</html>
Output :
The background-clip property decides where the background should stop (its painting area).
Options
border-box → default. Background goes under the content, padding, and border.padding-box → background only covers content + padding, not under the border.content-box → background stays only inside the content area.text (with webkit-background-clip) → background is clipped to the text shape..clip-demo {
font-size: 50px;
font-weight: bold;
background: linear-gradient(to right, #43cea2, #185a9d);
color: transparent;
-webkit-background-clip: text;
}<!DOCTYPE html>
<html lang="en">
<head>
<meta charset="UTF-8">
<meta name="viewport" content="width=device-width, initial-scale=1.0">
<title>Background Clip Example</title>
<style>
.clip-demo {
  font-size: 50px;
  font-weight: bold;
  background: linear-gradient(to right, #43cea2, #185a9d);
  color: transparent;
  -webkit-background-clip: text;
}
</style>
</head>
<body>
<h2>Background-clip Example (Gradient Text)</h2>
<div class="clip-demo">Gradient Text</div>
</body>
</html>
Output :

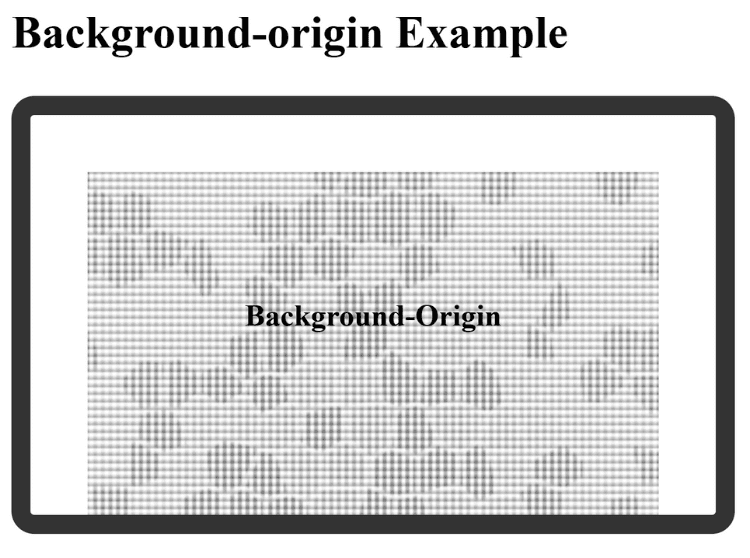
The background-origin property defines where the background image/gradient starts positioning from.
Options
border-box → image starts from the border edge.padding-box → image starts from inside the padding.content-box → image starts inside the content area only..origin-demo {
width: 300px;
height: 150px;
padding: 30px;
border: 10px solid #333;
background: url("https://www.transparenttextures.com/patterns/dark-mosaic.png") no-repeat;
background-origin: content-box;
background-size: cover;
color: #000;
display: flex;
align-items: center;
justify-content: center;
border-radius: 12px;
font-weight: bold;
text-align: center;
}<!DOCTYPE html>
<html lang="en">
<head>
<meta charset="UTF-8">
<meta name="viewport" content="width=device-width, initial-scale=1.0">
<title>Background Origin Example</title>
<style>
.origin-demo {
width: 300px;
height: 150px;
padding: 30px;
border: 10px solid #333;
background: url("<https://www.transparenttextures.com/patterns/dark-mosaic.png>") no-repeat;
background-origin: content-box;
background-size: cover;
color: #000;
display: flex;
align-items: center;
justify-content: center;
border-radius: 12px;
font-weight: bold;
text-align: center;
}
</style>
</head>
<body>
<h2>Background-origin Example</h2>
<div class="origin-demo">Background-Origin</div>
</body>
</html>
Output :
These are advanced techniques to show/hide specific parts of an element.
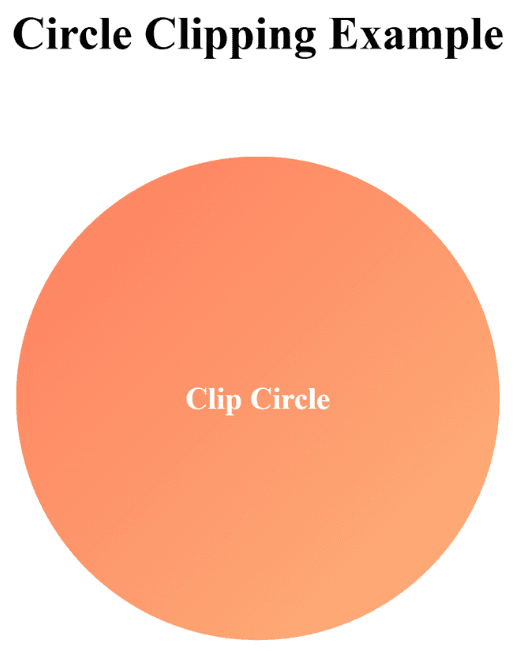
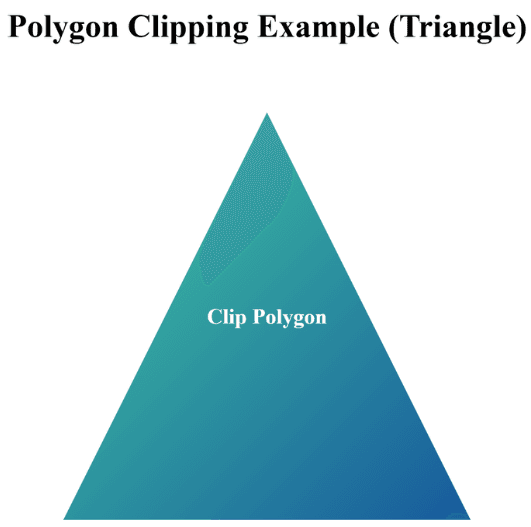
clip-pathWith clip-path, you can cut out shapes for elements (rectangles, circles, polygons, even SVG paths).
.clip-shape {
  width: 250px;
  height: 250px;
  background: linear-gradient(135deg, #ff7e5f, #feb47b);
  clip-path: circle(50% at 50% 50%);
  display: flex;
  align-items: center;
  justify-content: center;
  color: #fff;
  font-weight: bold;
  text-align: center;
}<!DOCTYPE html>
<html lang="en">
<head>
<meta charset="UTF-8">
<meta name="viewport" content="width=device-width, initial-scale=1.0">
<title>Circle Clipping Example</title>
<style>
.circle-clip {
width: 250px;
height: 250px;
background: linear-gradient(135deg, #ff7e5f, #feb47b);
clip-path: circle(50% at 50% 50%);
display: flex;
align-items: center;
justify-content: center;
color: #fff;
font-weight: bold;
text-align: center;
margin: 50px auto;
}
</style>
</head>
<body>
<h2 style="text-align:center;">Circle Clipping Example</h2>
<div class="circle-clip">Clip Circle</div>
</body>
</html>
Output :
.polygon-clip {
      width: 300px;
      height: 300px;
      background: linear-gradient(135deg, #43cea2, #185a9d);
      clip-path: polygon(50% 0%, 0% 100%, 100% 100%); /* Triangle shape */
      display: flex;
      align-items: center;
      justify-content: center;
      color: #fff;
      font-weight: bold;
      text-align: center;
      margin: 50px auto;
}<!DOCTYPE html>
<html lang="en">
<head>
<meta charset="UTF-8">
<meta name="viewport" content="width=device-width, initial-scale=1.0">
<title>Polygon Clipping Example</title>
<style>
.polygon-clip {
width: 300px;
height: 300px;
background: linear-gradient(135deg, #43cea2, #185a9d);
clip-path: polygon(50% 0%, 0% 100%, 100% 100%); /* Triangle shape */
display: flex;
align-items: center;
justify-content: center;
color: #fff;
font-weight: bold;
text-align: center;
margin: 50px auto;
}
</style>
</head>
<body>
<h2 style="text-align:center;">Polygon Clipping Example (Triangle)</h2>
<div class="polygon-clip">Clip Polygon</div>
</body>
</html>
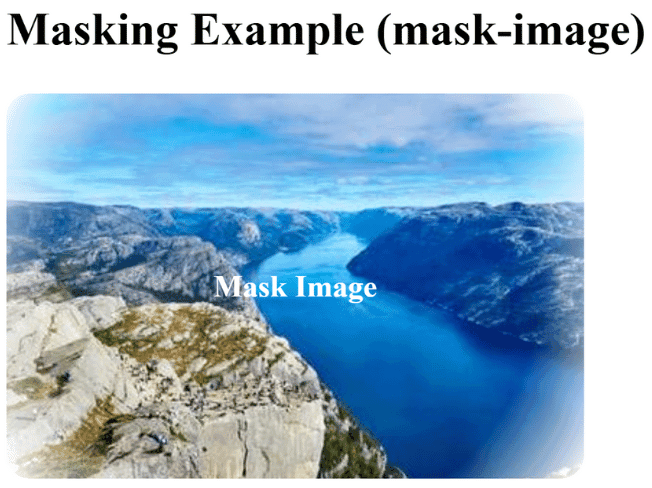
mask-imageMasking uses another image (or gradient) as a stencil.
.mask-demo {
      width: 300px;
      height: 200px;
      background: url("https://picsum.photos/id/1015/400/300") no-repeat center/cover;
      -webkit-mask-image: radial-gradient(circle, rgba(0,0,0,1) 70%, rgba(0,0,0,0) 100%);
      -webkit-mask-repeat: no-repeat;
      -webkit-mask-position: center;
      -webkit-mask-size: cover;
      display: flex;
      align-items: center;
      justify-content: center;
      color: #fff;
      font-weight: bold;
      text-align: center;
      border-radius: 12px;
}<!DOCTYPE html>
<html lang="en">
<head>
<meta charset="UTF-8">
<meta name="viewport" content="width=device-width, initial-scale=1.0">
<title>Masking Example</title>
<style>
.mask-demo {
width: 300px;
height: 200px;
background: url("https://picsum.photos/id/1015/400/300") no-repeat center/cover;
-webkit-mask-image: radial-gradient(circle, rgba(0,0,0,1) 70%, rgba(0,0,0,0) 100%);
-webkit-mask-repeat: no-repeat;
-webkit-mask-position: center;
-webkit-mask-size: cover;
display: flex;
align-items: center;
justify-content: center;
color: #fff;
font-weight: bold;
text-align: center;
border-radius: 12px;
}
</style>
</head>
<body>
<h2>Masking Example (mask-image)</h2>
<div class="mask-demo">Mask Image</div>
</body>
</html>Output :
