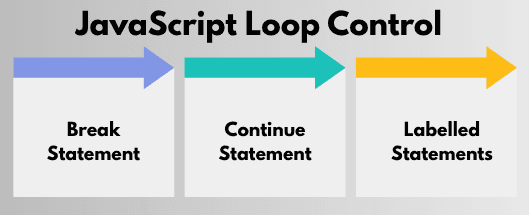
JavaScript Loop Control
Loop control statements in JavaScript allow you to modify the normal flow of loops. They help improve readability, handle conditions efficiently, and manage complex iterations.

1. Break Statement
The break statement exits the current loop immediately, regardless of the loop’s condition. It can be used in any loop type (for, while, do…while) and also in switch statements.
Syntax:
break;
Example 1: Using break in a for loop
for (let i = 1; i <= 5; i++) {
  if (i === 3) {
    break; // exit the loop when i is 3
  }
  console.log(i);
}
// Output: 1, 2
Example 2: Using break in a while loop
let i = 1;
while (i <= 5) {
  if (i === 4) break;
  console.log(i);
  i++;
}
// Output: 1, 2, 3
2. Continue Statement
The continue statement skips the current iteration of the loop and moves to the next iteration immediately. The loop itself continues running.
Syntax:
continue;
Example 1: Using continue in a for loop
for (let i = 1; i <= 5; i++) {
  if (i === 3) continue; // skip printing 3
  console.log(i);
}
// Output: 1, 2, 4, 5
Example 2: Using continue in a while loop
let i = 0;
while (i < 5) {
  i++;
  if (i === 2) continue; // skip when i is 2
  console.log(i);
}
// Output: 1, 3, 4, 5
3. Labelled Statements
Labelled statements provide a way to control nested loops more precisely. You can give a label to a loop and use it with break or continue to affect outer loops directly.
Syntax:
labelName:
for (initialization; condition; increment) {
  // code
}
Example 1: Breaking an outer loop
outerLoop: // label
for (let i = 1; i <= 3; i++) {
  for (let j = 1; j <= 3; j++) {
    if (i === 2 && j === 2) break outerLoop; // exit both loops
    console.log(`i=${i}, j=${j}`);
  }
}
// Output:
// i=1, j=1
// i=1, j=2
// i=1, j=3
// i=2, j=1
Example 2: Continue with a label
outerLoop:
for (let i = 1; i <= 3; i++) {
  for (let j = 1; j <= 3; j++) {
    if (j === 2) continue outerLoop; // skip to next iteration of outer loop
    console.log(`i=${i}, j=${j}`);
  }
}
// Output:
// i=1, j=1
// i=2, j=1
// i=3, j=1

